Happy Birthday wishes going out to the following
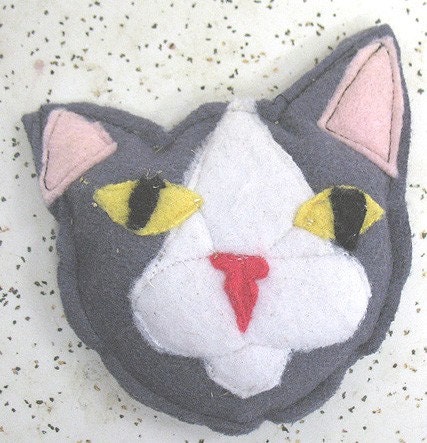
Artwichstudios on December 26
http://www.etsy.com/listing/34662507/grey-and-white-cat-head-organic
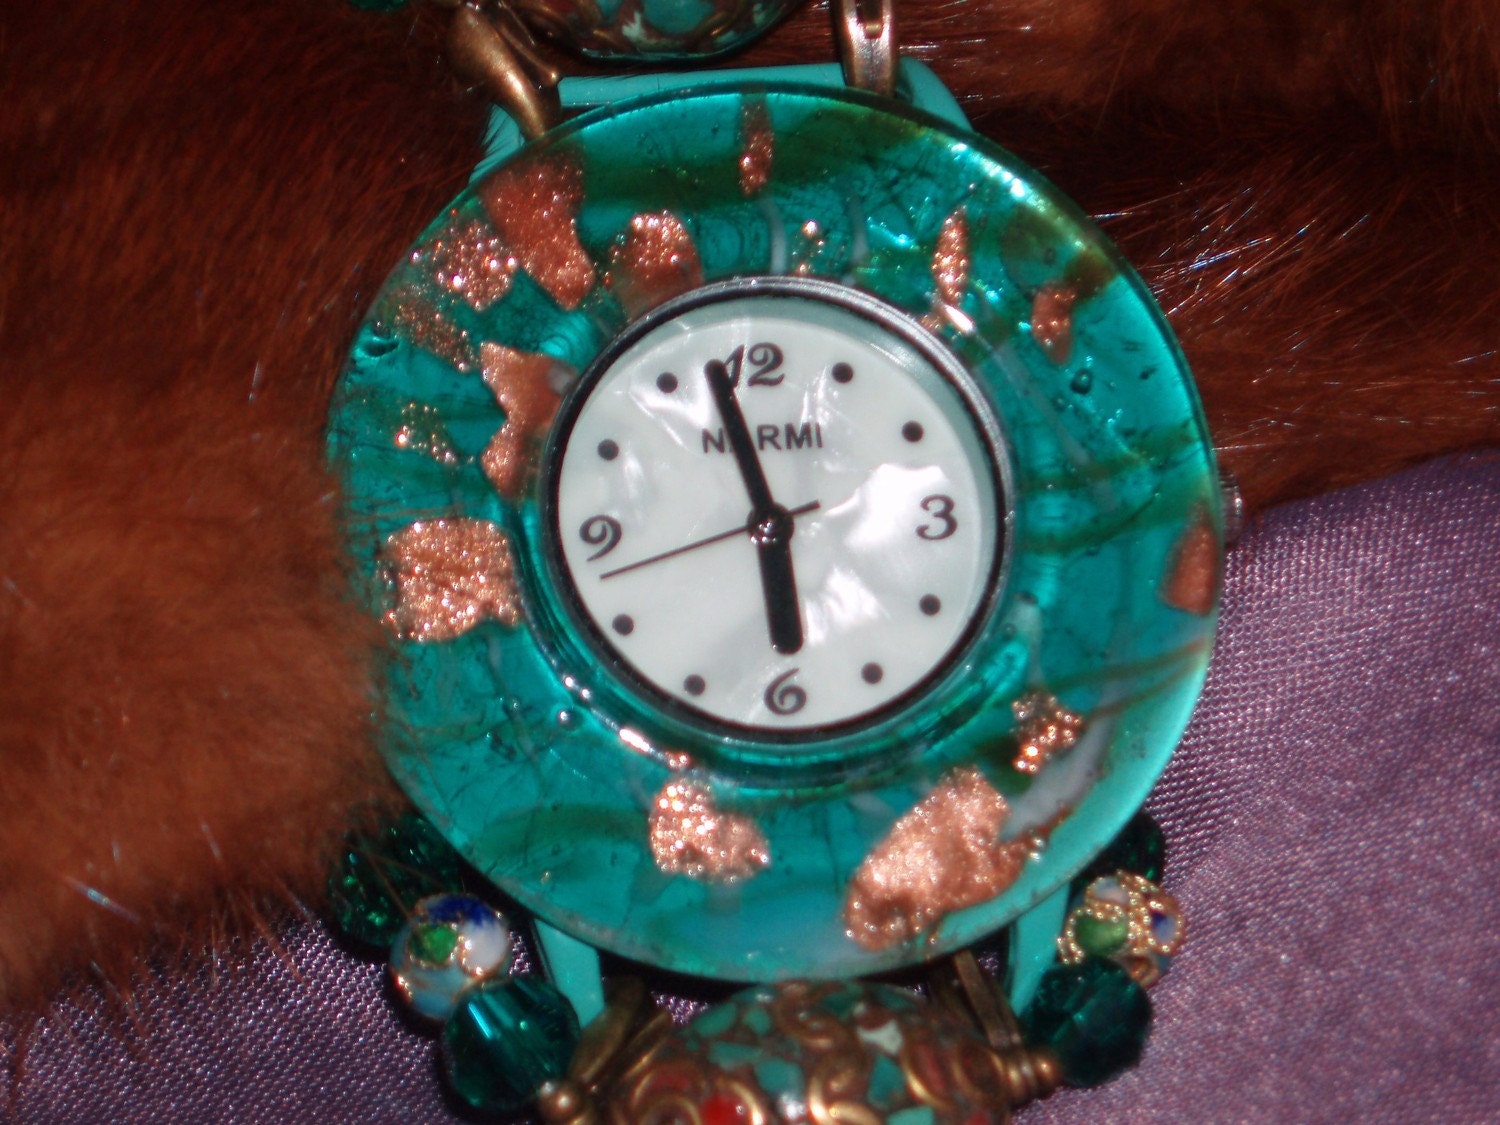
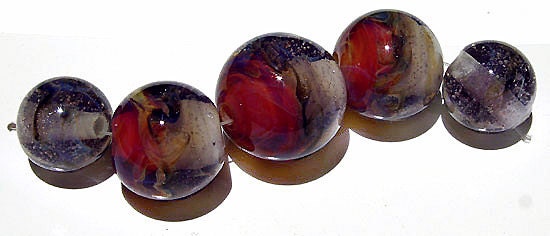
Onesweetbead on December 27
http://www.etsy.com/listing/87961083/dream-a-handmade-boroscilicate-lampwork
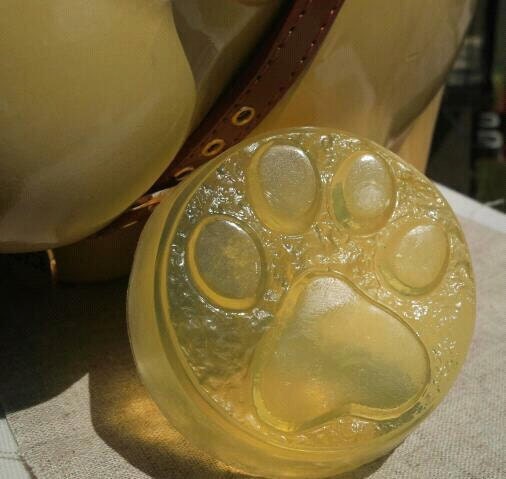
SugarBaySoapCompany on December 28
http://www.etsy.com/listing/66669530/spiffy-bath-salts-rose-garden-chamomile

MorningMantras on December 29
http://www.etsy.com/listing/84015134/turn-off-the-tv-have-more-sex-4x6-art

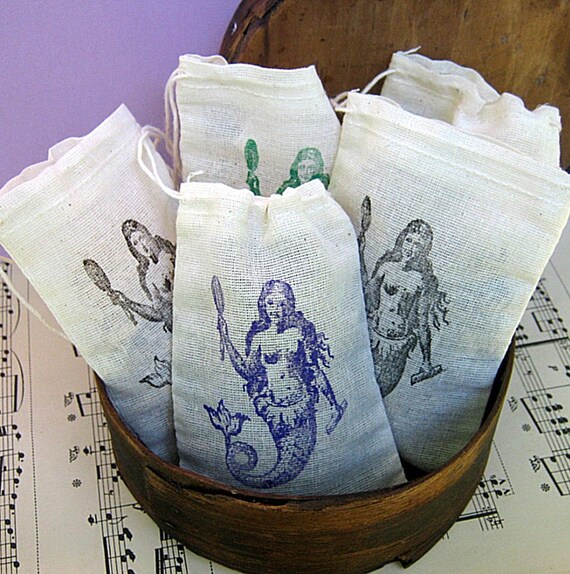
NymphsNecessitys on December 30
http://www.etsy.com/listing/70118190/aromatic-body-scrub-samples-herbal
PinkPupsDesigns also on December 30
http://www.etsy.com/listing/72617143/just-married-double-banner-garland-for

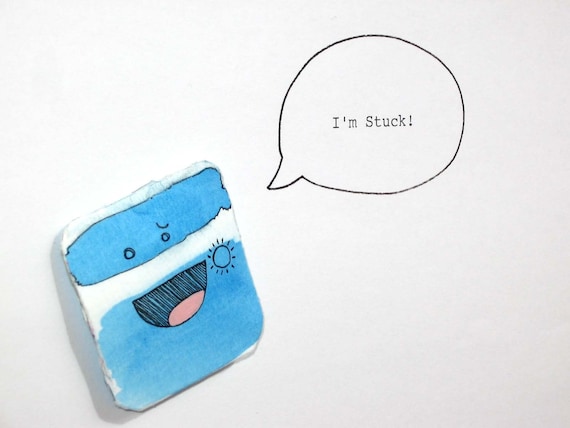
Humbleraelord on December 31
http://www.etsy.com/listing/38992638/mr-blue-magnet-one-1-item-free-us
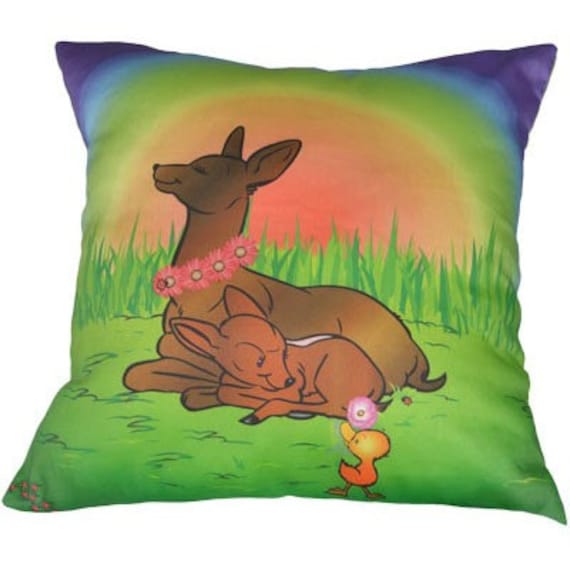
KimDeanArt also on December 31
http://www.etsy.com/listing/17718150/whimsical-child-print-modern-abstract

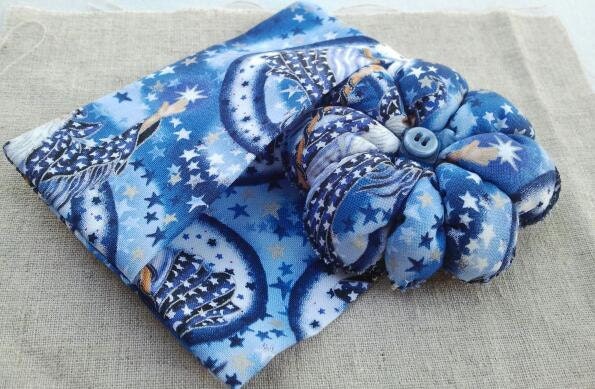
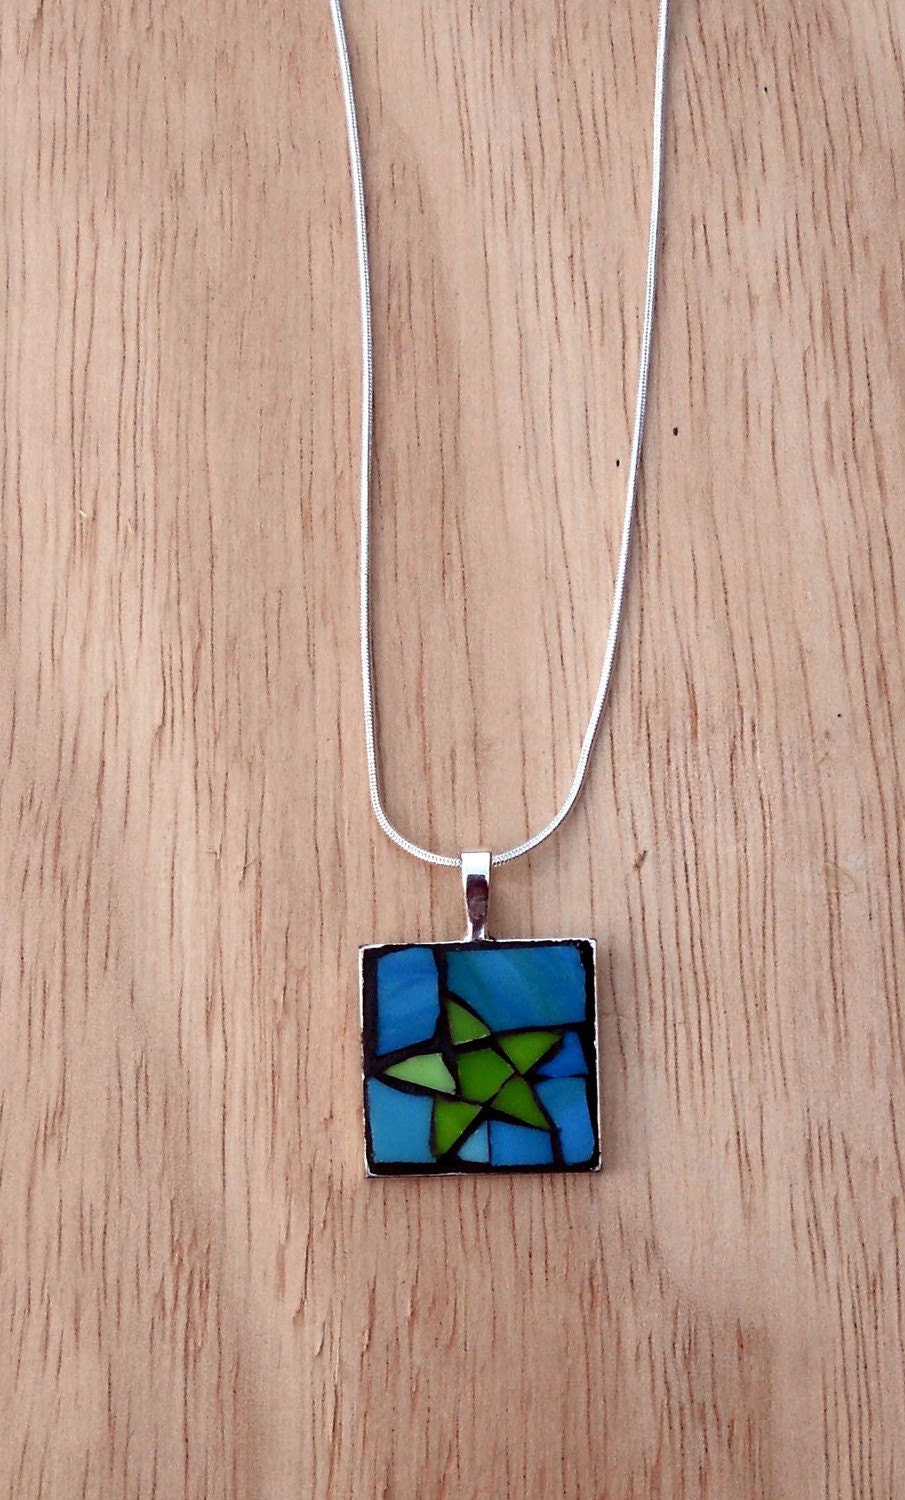
Acenal on January 1
http://www.etsy.com/listing/63602799/star-mosaic-pendant
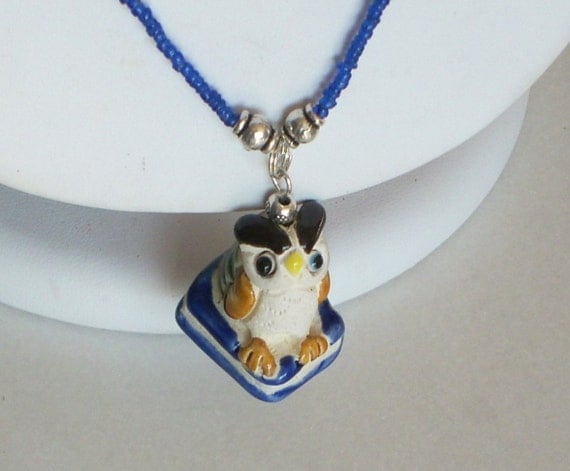
Jewelrybyesta also on January 1
http://www.etsy.com/listing/65050584/wise-owl-in-navy-and-off-white-free
Have a Wonderful Birthday!
ReneeBrownsDesigns
Artwichstudios on December 26
http://www.etsy.com/listing/34662507/grey-and-white-cat-head-organic
Onesweetbead on December 27
http://www.etsy.com/listing/87961083/dream-a-handmade-boroscilicate-lampwork
SugarBaySoapCompany on December 28
http://www.etsy.com/listing/66669530/spiffy-bath-salts-rose-garden-chamomile
MorningMantras on December 29
http://www.etsy.com/listing/84015134/turn-off-the-tv-have-more-sex-4x6-art
NymphsNecessitys on December 30
http://www.etsy.com/listing/70118190/aromatic-body-scrub-samples-herbal
PinkPupsDesigns also on December 30
http://www.etsy.com/listing/72617143/just-married-double-banner-garland-for
Humbleraelord on December 31
http://www.etsy.com/listing/38992638/mr-blue-magnet-one-1-item-free-us
KimDeanArt also on December 31
http://www.etsy.com/listing/17718150/whimsical-child-print-modern-abstract
Acenal on January 1
http://www.etsy.com/listing/63602799/star-mosaic-pendant
Jewelrybyesta also on January 1
http://www.etsy.com/listing/65050584/wise-owl-in-navy-and-off-white-free
Have a Wonderful Birthday!
ReneeBrownsDesigns