Monday, January 2, 2012

Sunday, January 1, 2012

In My Corner with Bead Lover Korner

So I must amit that I am a little jealous of Bead Lover today. She has a whole ROOM to craft in.  Although it gave me hope for the future because she did tell me that she started with only half the room until her sons moved out and she gave her husband's desk (which was really a pile of papers he never touched expect to pile more papers on) the boot.  HEHE.  At least she didn't have to act on the threats of throwing his "important" papers away. There has been a time when my husband has found an old newspaper in that pile of "important" papers. 
I am shaking my head as I write that. 
These two pics are where Bead Lovers Korner operates nearly every single day of the week, 12-14 hours a day and I must say she must love what she does to be so dedicated.

These shelves hold boxes of products that need to be photographed still, and the little pink crate holds orders that are pending for payment or backorders waiting on shipments. What a great organizing system I am still trying to find the best way to organize already made items though I must admit jewerly is probably easier to store than clothes. 

Bead Lover sells items she has made as well as Biagi Beads and clasps.She sells these and Landmark beads to people who have the Pandora and other style Euro bracelets. 

Here are a couple of storage racks like I mentioned in my space, she got one at ACE hardware and the other at Lowes and all the little bins are perfect for storing different beads and things.
She had everything in bags stored in boxes and it would take her forever to find what she  was looking for! Now look how organize it is with labels. I bet she never has to look though multiple drawers to find what she is looking for again.

When asked what she couldn't live with out she exclaimed her computer.
Especially since all of her sales are done on several different venues online and she has to constantly move items from one place to another, make sure the pictures are really good, answer emails and print all her postage labels. A couple of years ago her husband got her this huge monitor for Christmas because he kept seeing her right on top of the old monitor and he said he didn't want her to go blind! She also can't do without her coffee cup, it's probably hard to make out but it is one that she  bought from Paintings by Gretzky that has a picture of herTailess Black Cat silhouette.
Across from her desk is her beading table, for years it was way back in the bedroom which left a mess around the house when she beaded. 

Now she have her own space and she can leave things out and it doesn't matter! " You know how sometimes you aren't finished with something or want to "sleep on it" before you make the final touches?" she said. Oh yes, Bead Lover we know.
Where does she get her inspiration from?
"Well, I have a ton of Bead Style Magazines, Fire Mountain Gems catalogs and others for visual references and sometimes I get idea from those. I really don't ever want to copy another design so I just use them to spur ideas. What really makes me think are the Team Challenges and the Etsy Merchandising lists. Those two things help me formulate ideas on what I can make from what I have."
 One of the many reasons this team is so great for us!!!!!
Lastly, here is her storage tip. Her husband is an avid fisherman and practically has a bait store in his closet (can she say Hoarder again?). Anyway, one time he came home with some of these really neat little partitioned storage containers that he got at Walmart to hold all his Lures, worms, hooks, etc. and he only paid a few bucks for them. She had seen really cool bead storage units in the different bead catalogs, but they cost more than she  ever wanted to pay. So one day she went to Walmart and found this cool tackle box that came with three large partitioned boxes and two little tiny ones. And it had space in the top to hold other important fisherman stuff, it was pretty cheap really (She thinks it was like $15-$20.00). And guess what? Now she have two of them, LOL!!
What's missing that is the kiln and torch that she bought and that Bead Lovers Korner carries over on inventory every year. She did beading and all sorts of crafts when she was kid, but really took off with this about 10 years ago when her husband took a lampworking class. He had done glass blowing in school (back when they used to have real SHOP for guys) and he wanted to take this class. Meanwhile she wanted to hang something pretty and decorative in her car and had some beads someone gave her. One thing led to another and then her hubby took her to the bead store where he took the class. So she started beading and selling about 6 months later Bead Lovers Korner was born! She bought the kiln thinking he would make beads she could sell, but that portion of the plan has yet to really happen. She keeps thinking she will learn to do that, but she stays so busy all the time with what she is doing that already she hasn't had time. Every time she mention the words sell and kiln in the same sentence her husband insists that he is going to start that soon!! That sounds like most husbands and to do lists. My husband's is getting pretty long, it may be reminder time again....hmmm. 
Well I was so glad to see Bead Lover's area and she gave great tips for us all. I am sorry this was a little late the holiday season gets the best of you.
Enjoy,
Barbara

Saturday, December 24, 2011

2011 HOLIDAY COUNT DOWN #24

Count down to 2012 - Our gift from FEST to you!


#24 ~ TODAY'S Tutorial By Sharonscandleshop where you will find a beautiful collection of handcrafted Natural Wax candles!

Today Sharon shares some useful Candle Safety Tips:


Keep away from children and pets

Never leave candle burning unattended.

Always put candle on a candle plate or some other non-flammable, no melt item to catch any melted wax. Never set directly on furniture

Make sure candle is on a sturdy, level, hard surface.

Keep 3 feet away from walls, drapery or any other flammable materials.

Keep out of drafts and breezes.

All decorations should be removed from candle while lit. Hot melted wax or large flame could ignite decoration.

Keep wicks trimmed to ¼ inch – 1/8 inch for wooden wicks.

The ideal length of time to burn a candle is 2 to 4 hours. Any shorter length of time and the candle will only burn a small tunnel hole down the center, leaving a thick, unburned outer shell; any longer than 4 hours and the melted wax pool will be to large either drowning the wick or causing a fire hazard.

Flames should be ½ to 1 inch tall and straight. A flame which bends or flickers too much is a sign of a draft or a less than perfectly formed candle. If the flame gets too high or the wax pool too deep, extinguish the flame and when the wax dries it can be re-lit.

By following these simple tips and exercising a little common sense you can enjoy your candles with confidence.

Friday, December 23, 2011

2011 HOLIDAY COUNTDOWN #23

Count down to 2012 - Our gift from FEST to you!

#23 ~ TODAY'S Tutorial By TheQuirkySquirrel where you will find Gifts for knitters that are fun and quirky!

Today Terri from the TheQuirkySquirrel shows you how to make a felted beret in a four-part video tutorial.


If you would like more of these tutorials on felting please visit Felting Lessons!

Thursday, December 22, 2011

2011 HOLIDAY COUNT DOWN #22

Count down to 2012 - Our gift from FEST to you!

#22 ~ TODAY'S Tutorial By Handmade3D where you will find great hair accessories, handmade plushies and coffee cozies and so much more!!


Today  Ellen shares: Flower Growth Chart


Can you believe my little Zoe turned 1 year old today! This has been one of the best years of my life. And to end it off, I wanted to create a growth chart for my little flower. I have seen cute ones at stores and online, but they are either too expensive or I think "I could do that!" Well, now you can too. :) I made this over a couple of days, but if I had uninterrupted time I could have probably done the entire thing in one afternoon. But other moms out there know that uninterrupted time is not a luxury!
What you’ll need:

½ yd of green felt by the yard 60”
Fat quarter for center of flower
Scraps of fabric for petals (about 3 fat quarters)
Polyfill Fiberfill
Water Soluble pencil
Sewing Machine
Rotary Cutter and Rulers
Thread
Scissors
Pins

** I use an embroidery machine to create the leaves but you would use any type of machine or applique or write the markings by hand.

Creating the stem of the flower:
1. Cut a strip of 6” x 60” of the green felt.
2. Using your water soluble pencil and ruler, draw 1 inch markings along the right side of the vertical length of the stem.
3. Mark every 6” with a pin.’
4. Using a dark green thread, stitch a line at every marking
For the inch markings, stitch a 1” inch line
For the ½ foot markings, stitch a 1 1/2” inch line
For the foot markings, stitch a 3” inch line
Special Note: With the measurements given you should be able to create a growth chart starting at 6” at the base going to just over 6’ tall. I am only 5’4” so I imagine my daughter will be around that height. If you have a taller family, you may want to mark the bottom as 1 foot or even 1 ½ feet tall. You will need at least five inches at the top of the stem to attach and overlap the flower.

5. Mark the 1 foot increments with numbers. You can use your embroidery machine or applique.

Creating the leaves:
I created 12 leaves in hope that she will still let me mark her growth at 12 but who knows! I would rather have too many leaves than not enough. I also changed the directions for every other leaf to be on the opposite side of the stem.

Machine Embroidery:
Load the vip embroidery file into your embroidery software. Add the years with your text functions. Depending on your hoop size you may be able to create more than one leaf at a time.
After stitching out the designs, cut out the leaves.
By Hand:
Use the attached template to trace the leaves on to your excess felt.
After cutting out a bunch of leaves use whichever method you like the write the ages on the leaves

Creating the Flower
1. Create the 12 petals out of scrap fabrics.
2. From your extra felt, cut a 6” circle and a 4” square. This will be the back of the flower and a pocket.
3. Stitch the 4” square on top of the circle.
4. Cut a 5” x 2” strip of fabric. This will be the hanging loop.
5. Fold the strip of fabric in half lengthwise, twice. Stitch along the edge to create the loop.
6. Stitch the loop to the top of the pocket circle.
7. Cut a 12” circle out of your yellow fat quarter. This will be the center of the flower.
8. Stitch a long loose stitch around the edge of the circle.
9. Using the thread, hold one end and gather the circle so the edge folds over itself about 2”.
10. Lay out your 12 petals along the raw edge of the inner circle.
11. Whip stitch the petals to the circle to keep them in tack.

1. Using your sewing machine, use a zig zag stitch to secure the petals to the center.
2. Place fiberfill in the center of the flower.
3. Cover the hole with the stem and the felt pocket. Hand stitch the three layers together.

You are done! Measure carefully on your wall to hang. Measure your little flower and place the leaves at her mark!
If you would like a pdf version of this tutorial, as well as the VIP embroidery files for the leaves, please email me at 'ellen@3doodle.com'

Wednesday, December 21, 2011

2011 HOLIDAY COUNT DOWN #21

Count down to 2012 - Our gift from FEST to you!

#21 ~ TODAY'S Tutorial By TheWoodenBee 
where you will find a fine collection of unique, handmade products that have been made from reclaimed materials with love!

I love to make wine cork garland. It’s a quick and classy way to decorate for a special occasion. At home I use it for anniversaries and adult birthdays. In our shop, I use it to decorate our vendor space and for our DIY craft parties. I think it would look fabulous on our Christmas tree this year…if I can get around to making enough!

Below, I used some wine cork garland on a window doorway at one of our DIY craft parties. I hung five double sided square chalkboards from the garland, that read CRAFT on one side and PARTY on the the other.

I thought I’d share some how-to tips for making wine cork garland.

What you need:
- oak wine corks
- ribbon, yard, or twine
- drill, optional
- beads, optional

For the garland twine I normally use natural jute or hemp. I find the cost is much less than ribbon or yarn. I also like the width & stiffness of the twine to allow for easy threading. However, I have used yarn, tied up scraps of ribbons, and recycled fishing line to make pretty wine cork garlands.

First determine how long you would like your wine cork garland to be, and then add four feet to your measurement. If I wanted an 8 foot garland, I would cut a 12 foot piece of twine. I would leave two feet on each side to allow extra twine for tying it up, for knots, etc.

You can drill holes in your wine corks either vertically and horizontally. Find a drill bit a size or two larger than the width of your twine. It will make it easier to thread the twine through the corks. Moving the drill bit in & out while drilling will help clear the holes of extra cork as well.

Decide your garland pattern based on your materials. For an 8 foot garland I would recommend having 35-40 wine corks. You can scale up or down from there. I think my eight foot garland has been a great length for several different uses. Anything under 6 ft seems too short, unless you want a mini garland for the archway of an inside doorway, or some other specific space. The garland below has a cork, three wooden beads, cork pattern. The colors of the beads varied. Remember to start your pattern in two feet from the end of your twine.

Wine cork garland is always fun to hang things from as well. Mistletoe at the holidays, letters and signs at special occasions. We hung Christmas cards on them one year. If you would like to hang heavier objects like wooden letters, or mini chalkboards like we did, then small ornaments hooks work the best!!! I have tried several methods and good ole ornament hooks work great! They hook and stay in place without sliding between corks, etc. We use these hooks, purchased for a great price, fromCathy's Unique Creations.

No Drill Option

So, if you don’t have a drill, or want to make a cork garland while sitting and watching TV, just tie the corks to the garland!

I would cut TWICE as much twine as what you want the length of the garland to be doing it this way. If there is extra is it better to cut it off than to run short at the end. Again, design your pattern and when you get to the cork, wrap the twine around the cork a few times, tie a knot, and continue. In the beginning, tying the knots with the long piece of twine will take extra time and care. As you get to the end it will get shorter and easier. Just think you didn’t have to sit there and drill hole after hole though.

Storing your Garland Tangle Free

You can use discarded paper towel or gift wrapping rolls to store your garlands in between uses. Cut two small slits in each end of the cardboard roll. Insert one end of the twine in a slit, and then wrap the garland around the roll and secure the other end of the twine in the second slit.

Happy Crafting!


Tuesday, December 20, 2011

2011 HOLIDAY COUNT DOWN #20

Count down to 2012 - Our gift from FEST to you!

#20 ~ TODAY'S Tutorial By SBB1 where you will find Handmade Clothing items and Accessories in American, European and Middle Eastern designs/styles as well as Pads and Wet Bags -


Today Sabina shares a video on Pre-washing Fabrics Before You Sew Them :

Monday, December 19, 2011

2011 HOLIDAY COUNT DOWN #19

Count down to 2012 - Our gift from FEST to you!


#19 ~ TODAY'S Tutorial By SBB1 where you will find Handmade Clothing items and Accessories in American, European and Middle Eastern designs/styles as well as Pads and Wet Bags -

Today Sabina shares a video on How to Do a Slip Stitch  :

Happy Birthday To You!

Happy Birthday Wishes going out to the following

Rosemintbathandbody on December 19
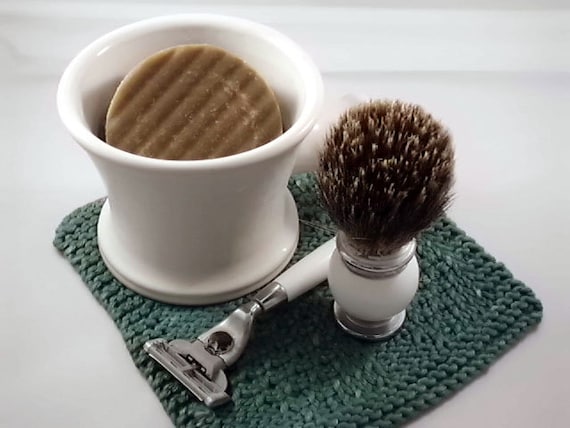
http://www.etsy.com/listing/76522170/shaving-soap-sandalwood-vanilla
Shaving Soap - Sandalwood Vanilla

MelaniesOriginals on December 21
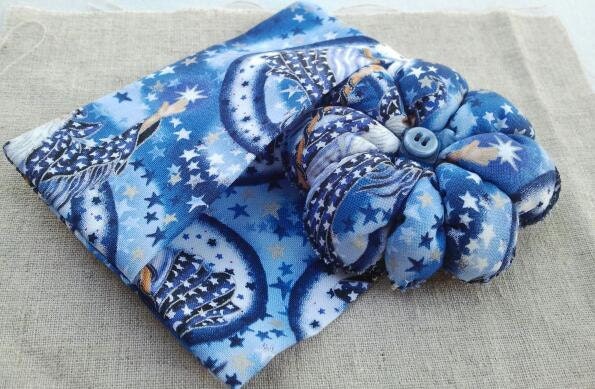
http://www.etsy.com/listing/79270955/lazy-daisy-wizard-print-pincushion-with
Lazy Daisy Wizard Print Pincushion with Matching Tissue Holder

SoapAddicts also on December 21
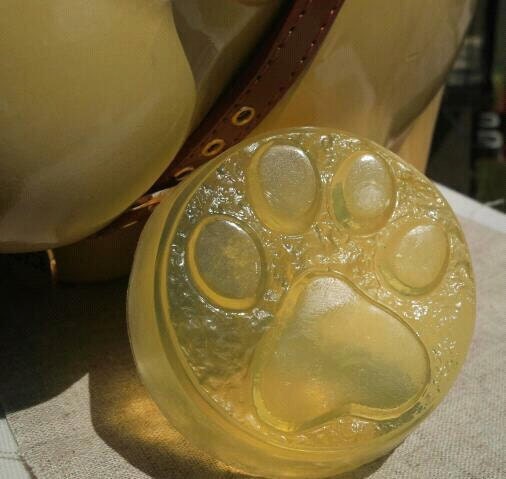
http://www.etsy.com/listing/50692849/doggie-wash-natural-dog-soap-with-aloe
Doggie Wash Natural Dog Soap with Aloe and Citronella Lemongrass Peppermint Lavender and Tea Tree Essential Oils

Fabfindsanddesign on December 23
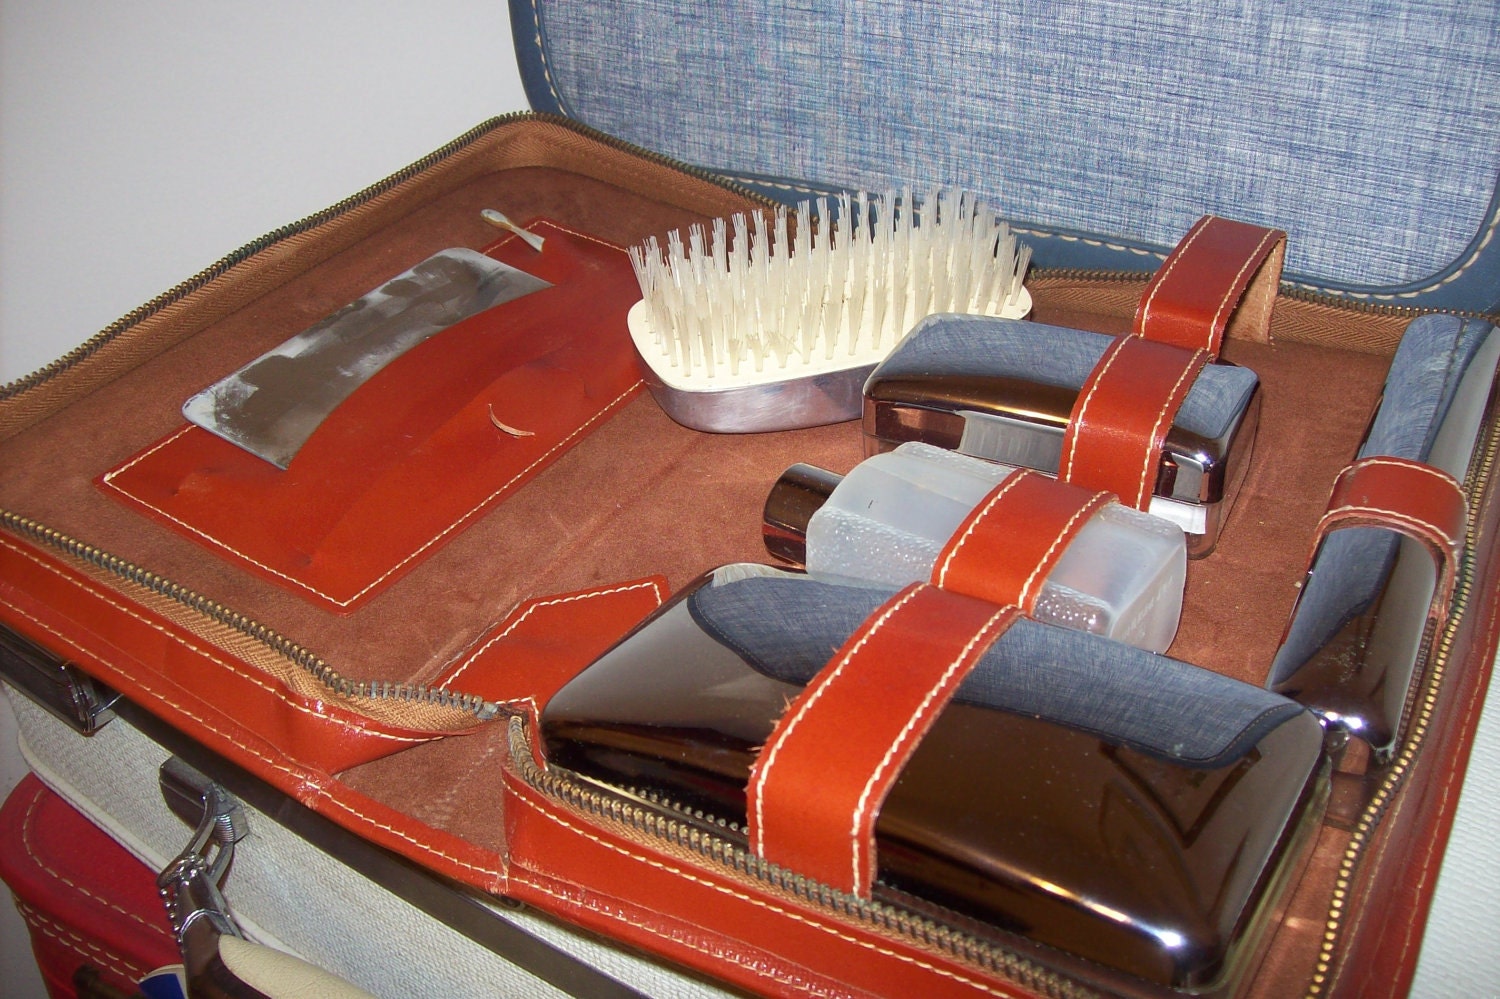
http://www.etsy.com/listing/88186903/mens-vintage-travel-kit-in-leather-case
Men's Vintage Travel Kit In Leather Case

FashionBeautiful also on December 23
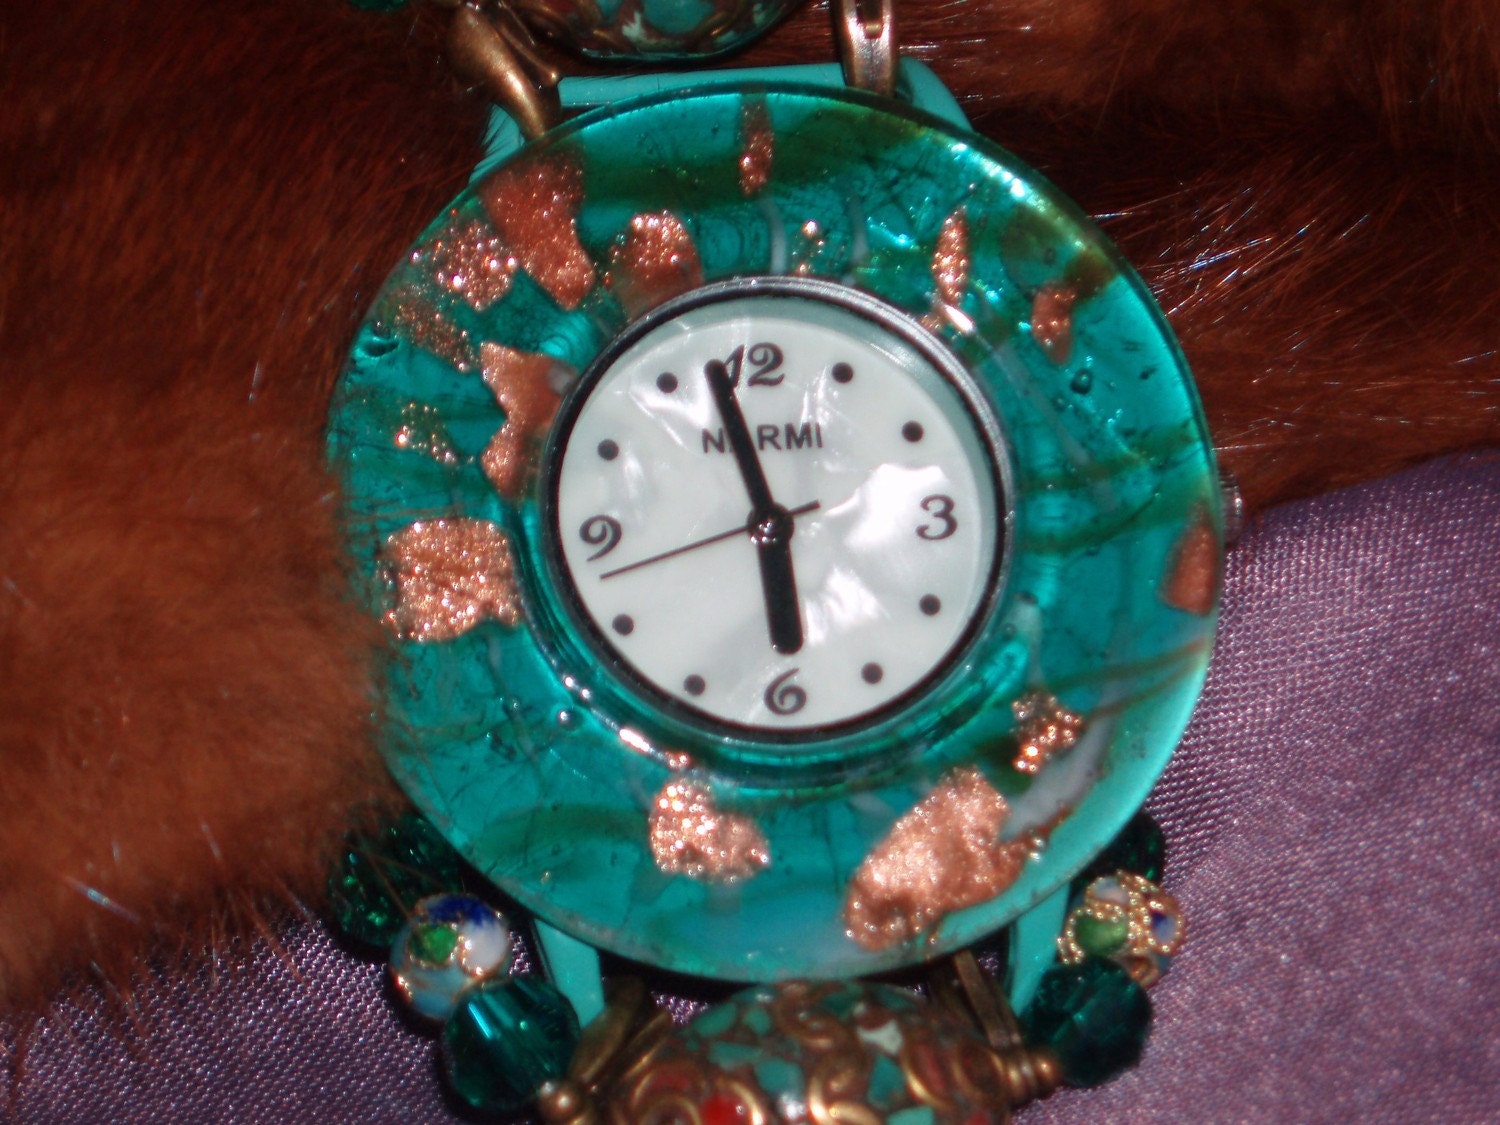
http://www.etsy.com/listing/60347919/venetian-glass-watch-bracelet
Venetian Glass Watch Bracelet

Almcleary on December 24
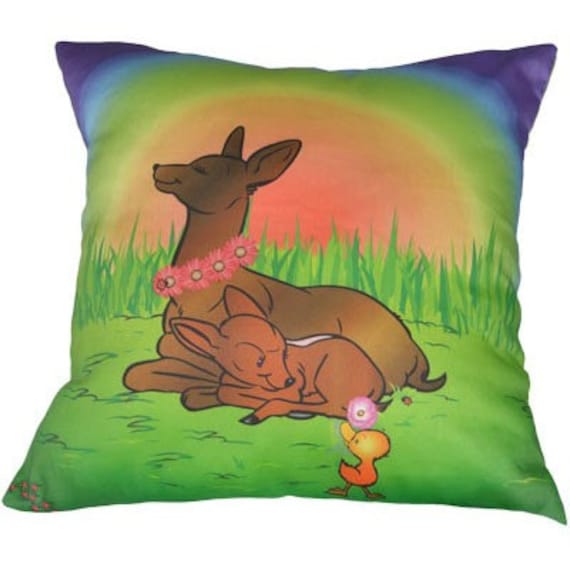
http://www.etsy.com/listing/70497295/handmade-decorative-custom-art-pillow
Handmade Decorative Custom Art Pillow Cover with mom and baby deer
Hope ya'll have a Wonderful Birthday
& a Merry Christmas!
ReneeBrownsDesigns


Sunday, December 18, 2011

2011 HOLIDAY COUNT DOWN #18

Count down to 2012 - Our gift from FEST to you!

#18 ~ TODAY'S Tutorial By Runningwithescissors where you will find a large variety of splendid scrapbooking supplies to suit your fancy!
Today Barbar shares: Simple Holiday Candles

A quick trip to Ikea for some candles and I was off to play. I used 7 Gypsies Tissue but there's also some just out from Tim Holtz with musical notes on it that would be stunning too.
Tissue paper has little weight to it. Make sure your cuts are straight if you’re covering the whole candle as I did. I found using my big cutting surface and large straight edge, I got the best cut.

I held the paper to the candle with a very small amount of tape from a tape runner. Make sure your candle is parallel to the tissue paper, even the slightest angle will throw off your symmetry. Test before you tape and commit.

Start heating on one side of the seam and work your way around in 1 inch increments. Adhesion takes very little heat, keep the gun moving and smooth as you go. The very last thing I did was heat the bottom and top edges to make sure everything was adhered.

About $11.00 worth of material and I think I’ve got a smashing holiday gift for someone. Then again, it may never leave my mantle!